When it comes to household appliances, few are as essential as the clothes dryer. However, ensuring that your dryer is properly connected and safe to use involves understanding the 3-prong dryer cord and its wiring. This article will walk you through the key aspects of the 3-prong dryer cord diagram, essential tips for homeowners, and best practices for installation and safety. By the end, you’ll be equipped with the knowledge to handle your dryer’s electrical requirements confidently.
What is a 3-Prong Dryer Cord?
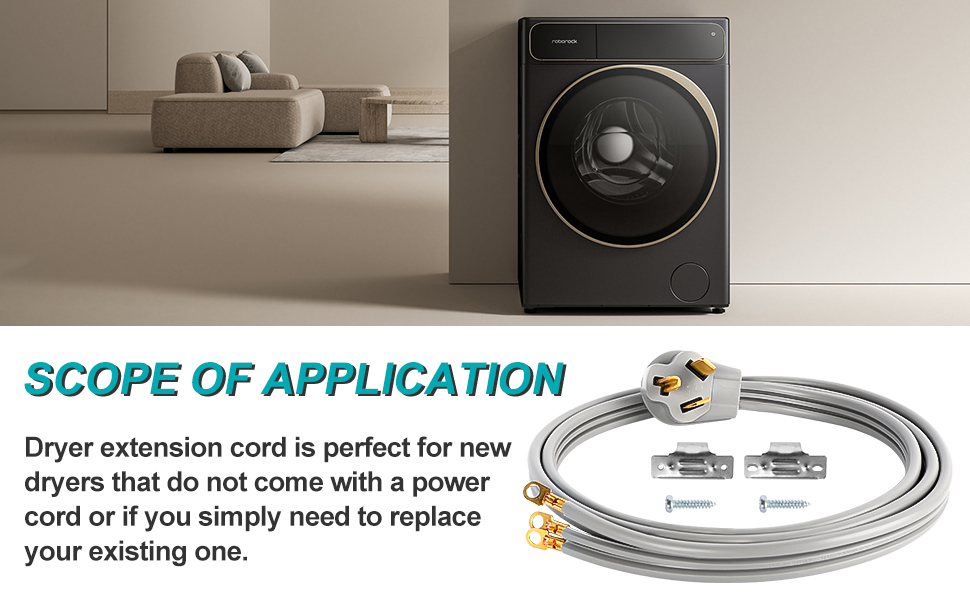
A 3-prong dryer cord is an electrical cable used to connect electric clothes dryers to a power supply. This type of cord is designed for homes built before 1996, which typically used a 3-prong configuration rather than the more modern 4-prong setup. Understanding the configuration of these cords is crucial for ensuring safety and compliance with electrical codes.
The Components of a 3-Prong Dryer Cord

Before diving into the wiring diagram and installation tips, it’s essential to understand the components and their functions. A standard 3-prong dryer cord typically includes the following:
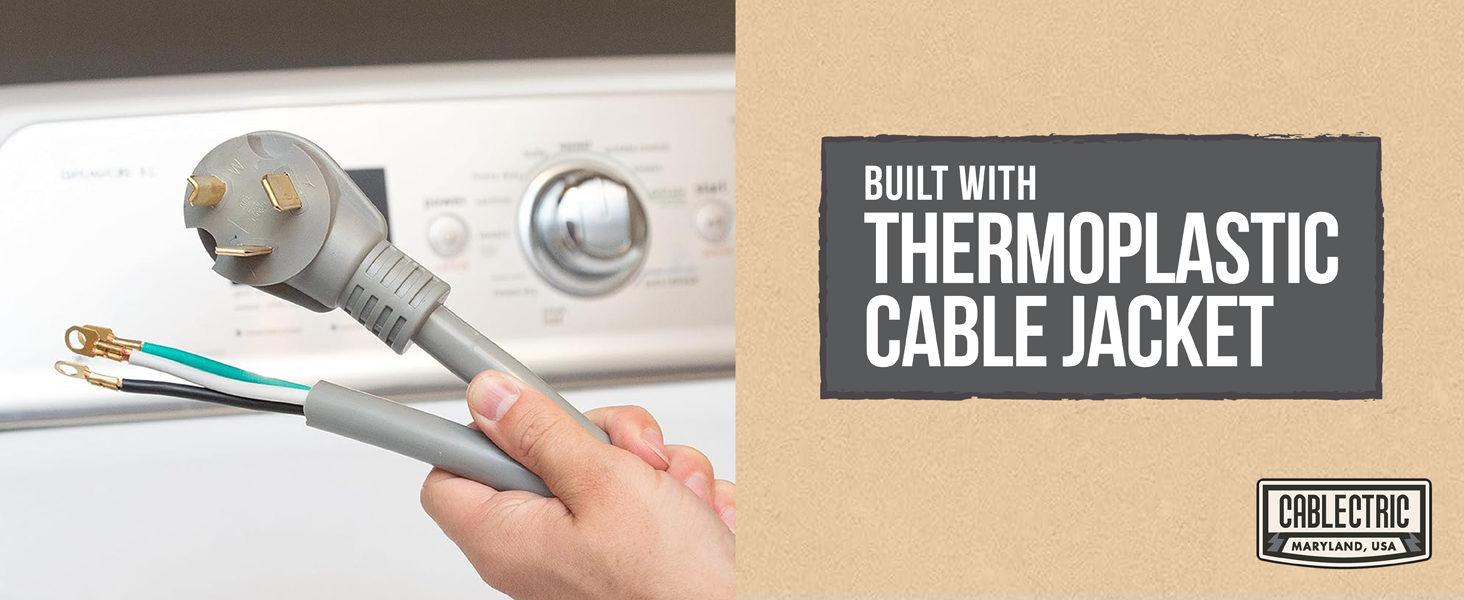
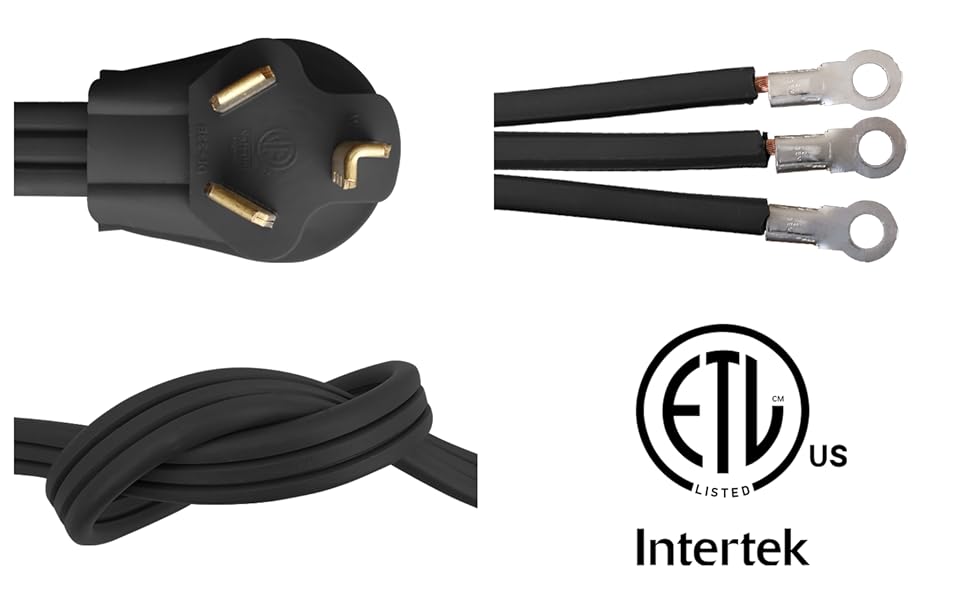
- Hot Wires (2): These wires carry the current from the power source to the dryer.
- Neutral Wire (1): This wire provides a return path for the electrical current and serves as a ground reference.
- Ground Wire: In some configurations, the ground may be integrated with the neutral wire, but it’s essential to ensure proper grounding for safety.
Understanding the 3-Prong Dryer Cord Diagram
A 3-prong dryer cord typically follows a specific wiring configuration. Here’s a breakdown of the diagram:
- Hot Wire 1: Connected to the terminal marked L1 on the dryer.
- Hot Wire 2: Connected to the terminal marked L2 on the dryer.
- Neutral Wire: Connected to the terminal marked N on the dryer, which also serves as the ground in this configuration.
In a diagram, the wires are usually color-coded:
- Black Wire: Hot wire 1 (L1)
- Red Wire: Hot wire 2 (L2)
- White Wire: Neutral wire (N)
Essential Tips for Homeowners
Understanding the 3-prong dryer cord is one thing; handling it safely and effectively is another. Here are essential tips for homeowners:
1. Always Check Local Electrical Codes
Electrical codes vary by region, and it’s vital to ensure that your installation complies with local regulations. Some areas may require a 4-prong setup for safety reasons. Always check with your local building department or a licensed electrician.
2. Use the Correct Cord Length

When replacing or installing a dryer cord, ensure that you use the correct length. A cord that is too short may not reach the outlet, while an excessively long cord can create a tripping hazard. The standard length for most installations is 4 to 6 feet.
3. Inspect the Cord and Connections Regularly

Regular inspections can help catch potential issues before they become serious problems. Look for:
- Frayed or damaged wires
- Loose connections
- Signs of overheating, such as discoloration
4. Use a Dedicated Circuit
Dryers require significant power, typically around 240 volts. Ensure that your dryer is connected to a dedicated circuit to prevent circuit overloads and potential hazards.
Common Mistakes to Avoid
Even with the best intentions, homeowners can make mistakes when dealing with dryer cords. Here are some common pitfalls to avoid:
- Neglecting the Grounding: Ensure that the dryer is properly grounded to avoid electrical shock. If your dryer’s installation requires a ground wire, make sure it is connected correctly.
- Using the Wrong Type of Cord: If your dryer is designed for a 4-prong connection, do not attempt to use a 3-prong cord. This could lead to safety hazards and damage to the appliance.
- Ignoring Manufacturer Instructions: Always refer to the manufacturer’s installation instructions for specific guidance related to your dryer model.
Case Study: The Importance of Proper Installation
In 2020, a family in Ohio experienced a house fire caused by a faulty dryer connection. The homeowners had recently moved and replaced the dryer but failed to use a dedicated circuit or properly ground the appliance. The overheating cord ignited nearby materials, leading to extensive damage. This case underscores the importance of adhering to safety standards and ensuring proper installation procedures.
Frequently Asked Questions
What is the difference between a 3-prong and a 4-prong dryer cord?
A 3-prong dryer cord has two hot wires and one neutral wire, while a 4-prong cord includes two hot wires, one neutral, and one dedicated ground wire. The 4-prong setup is now the standard for new installations and provides an extra layer of safety by separating the ground from the neutral.
Can I convert my 3-prong dryer to a 4-prong setup?
Yes, you can convert a 3-prong dryer to a 4-prong configuration. However, this should be done by a qualified electrician to ensure it meets local codes and safety standards.
Understanding the 3-prong dryer cord diagram is crucial for any homeowner. By familiarizing yourself with the components, following essential tips, and avoiding common mistakes, you can ensure a safe and effective installation. Remember the importance of checking local electrical codes and consulting a professional when in doubt. Electrical safety is paramount in any home, and taking the time to understand your dryer’s wiring can save you from potential hazards. Be proactive, stay informed, and keep your home safe.


